Fail-Proof Meat Mastery for Juicy, Even Doneness
Five degrees decides whether your steak blushes or dries out. Juicy, edge-to-edge doneness isn’t luck; it’s the result of a few variables you can control and a method you can repeat. Whether you’re cooking weeknight chicken or a celebratory rib roast, mastering those variables saves money, reduces stress, and replaces guesswork with quiet confidence. This guide distills the process to its essentials-choose a target, drive heat to the center without overcooking the exterior, and time the finish with carryover and thickness in mind. Start here, and let technique, not chance, deliver meat that’s consistently tender, moist, and precisely cooked.
Table of Contents
- Thermometer confidence for perfect doneness
- Thickness rules for even heat and juicy centers
- Dry brine strategy for deeper flavor and moisture control
- Smart searing for crust without overcooking
- Q&A
- To Conclude
Thermometer confidence for perfect doneness
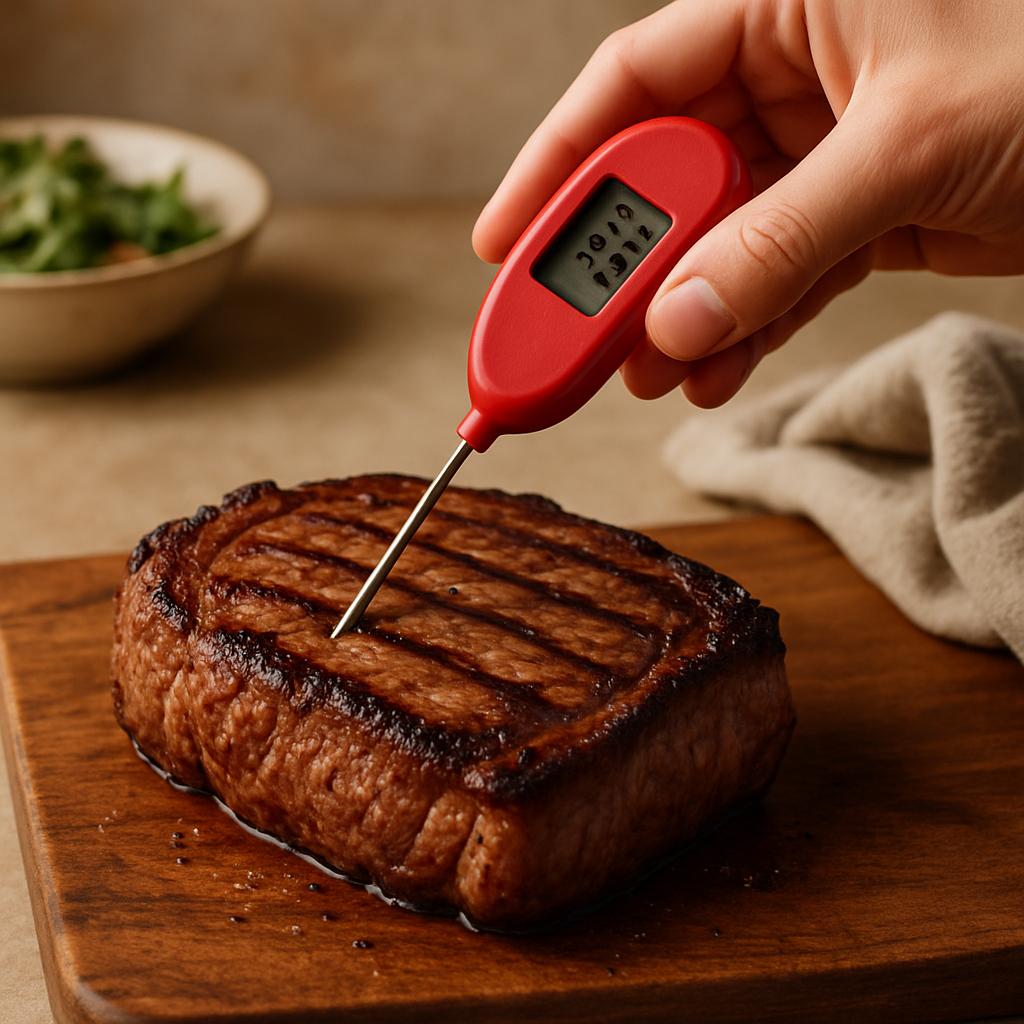
Pick the right tool and make it trustworthy. Use a fast instant‑read thermocouple for quick checks and a leave‑in probe for roasts you don’t want to open the oven for. Calibrate in an ice slurry (32°F/0°C) and at a rolling boil (212°F/100°C; adjust for altitude) so “done” means what the display says. Insert the tip into the deepest center of the meat, not touching bone or sitting in fat pockets. For thin steaks and chops, slide the probe in from the side to hit the true middle; for poultry thighs, aim between the drum and thigh without grazing the joint. Use a slow “sweep”: while reading, draw the tip back through the center and watch for the lowest number-that’s the doneness you’re actually serving. Check a second spot if the cut is uneven, and wipe/sanitize the probe between tests to avoid cross‑contamination.
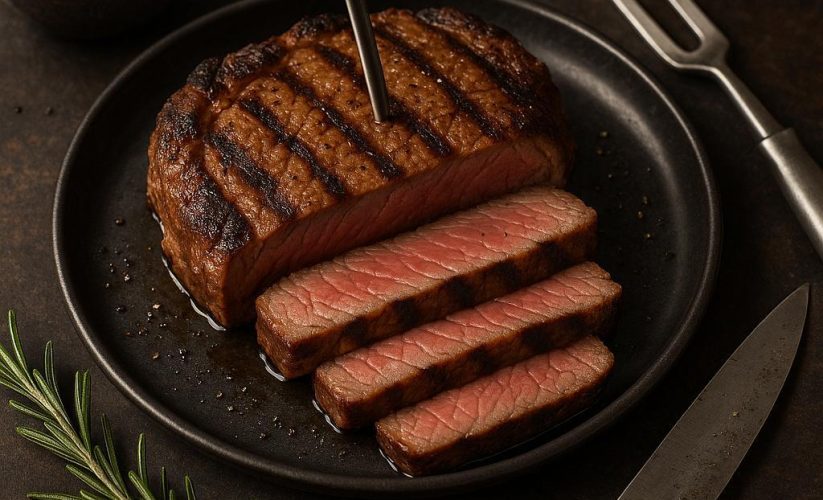
Cook to a finish temperature, but pull early for carryover. Expect a rise of roughly 3-5°F (2-3°C) for a 1‑inch steak, 5-8°F (3-4°C) for a whole chicken, and 8-12°F (4-7°C) for a larger roast, especially after high‑heat searing. Practical targets: pull beef steaks and roasts about 5°F (3°C) below your preferred doneness; pull pork loin at ~140°F (60°C) to finish near 145°F (63°C); pull whole poultry near 160°F (71°C) so the breast finishes at 165°F (74°C); ground meat must reach 160°F (71°C) in the center; most fish is succulent at 125-130°F (52-54°C). Place probes where it matters-center of the thickest breast on a bird and the deepest part of a roast-and let meat rest, lightly tented, before a quick recheck. This method gives you repeatable juiciness and even doneness without guesswork or endless poking.
Thickness rules for even heat and juicy centers
Heat moves predictably: from surface to center. That means thickness dictates your method, gradient, and juiciness. Use this simple ladder. For cuts ≤ 1/2 in (≤ 1.3 cm), go blazing hot and fast-you’re chasing crisp, not a rosy center (think thin cutlets or skirt). From 3/4-1 1/4 in (2-3 cm), sear hard, then finish over moderate or indirect heat; frequent flipping (every 30-45 seconds) shrinks the gray band and keeps juices inside. At 1 1/2-2 in (4-5 cm), switch to a two-stage approach: low heat (225-300°F / 107-149°C) until the meat is 10°F (6°C) below target, then sear 60-90 seconds per side. For anything thicker, treat it like a small roast: slow to temp at 225-275°F (107-135°C), sear at the end, and rest generously. Account for carryover: thick pieces climb 5-10°F (3-6°C) off heat; thin cuts barely budge.
Match the cut to its sweet spot. Steaks and bone-in chops shine at 1.25-1.5 in (3-4 cm): a ripping-hot sear, then a 350°F (177°C) finish for 3-6 minutes hits 125-130°F (52-54°C) for beef medium-rare; thick pork lands juicy when pulled at 135°F (57°C) and rested to 140°F (60°C). Chicken breasts stay moist when made uniform-butterfly or pound to 0.75-1 in (2-2.5 cm); cook over medium heat to 155-160°F (68-71°C) and rest. Burgers hold juiciness around 3/4 in (2 cm) with a shallow dimple; smash-burgers are the deliberate exception-ultra-thin, ultra-fast, edge-crisp and well-done. Fish rewards evenness: choose center-cut fillets about 1 in (2.5 cm); fold thin tails under, roast at 400°F (204°C) to 120-125°F (49-52°C) for salmon, 135-140°F (57-60°C) for white fish. For cylindrical roasts (tenderloin, pork loin), think diameter: at 3-4 in (7.5-10 cm), reverse sear and rest 15-30 minutes. Measure thickness with a ruler, probe from the side with an instant-read thermometer, and let thickness-not the clock-choose your path.
Dry brine strategy for deeper flavor and moisture control
Season early with a scale, not a shaker. Use 0.8-1.0% salt by meat weight as your baseline (example: 8-10 g salt per 1,000 g meat). Sprinkle evenly on all sides, set the meat on a rack over a tray, and refrigerate. Timing matters: 45 minutes-4 hours seasons thin chops and steaks; 6-24 hours penetrates thick roasts; 12-48 hours transforms whole poultry. This “dry brine” pulls surface moisture out, dissolves the salt, and draws it back in, seasoning the interior while lightly restructuring proteins for better water retention. Prefer coarse, low-density kosher salt; if using denser Morton-style kosher, reduce volume by about 25-30% to avoid over-salting. The result is deeper, more even flavor that survives cooking instead of sitting on the surface.
Manage moisture and browning with the finish. Leave the meat uncovered in the fridge during the last several hours of the brine so the surface dries-this concentrates flavor and supercharges Maillard crust and crisp poultry skin. Don’t rinse; just pat dry thoroughly before cooking. Add pepper and delicate spices right before heat to prevent bitterness or scorching; for extra browning on poultry skin, a scant pinch of baking powder per pound can raise pH and boost crispness. If the label says “enhanced” or pre-brined, cut your salt by half-or skip the brine. Short on time? Use the low end of the salt range and still give it at least 45 minutes so expelled juices can reabsorb. For dead-even doneness, pair the dry brine with a reverse sear: cook gently to within 10-15°F of target, rest briefly, then blast a fast sear for a glassy crust and a juicy, edge-to-edge center.
Smart searing for crust without overcooking
Crust without gray bands starts with a bone-dry surface and disciplined heat. Dry-brine with salt for 1-24 hours, air-dry in the fridge, then pat completely dry before the pan; moisture is the enemy of Maillard. Preheat a heavy, high-conduction skillet (cast iron or carbon steel) until a thin sheen of oil just smokes-an IR thermometer reading around 425-475°F is ideal. Lightly oil the meat, not the pan, with a high-smoke-point oil (grapeseed, refined avocado, peanut) to minimize flare and sticking. Set the protein down and give it 10-15 seconds to “anchor,” then loosen with a gentle shake; flip often-every 20-30 seconds for thick cuts-to build the crust in layers while the center rises evenly. For thin steaks or chops, go hotter and faster-30-60 seconds per side-to brown without overshooting the target. Don’t press; do sear edges and fat caps by tilting the meat with tongs, letting rendered fat self-baste the surface for extra crackle.
To guarantee even doneness, combine sear with a low-temp preheat: the reverse-sear brings meat to 10-15°F below your finish temp in a 225-275°F oven (or sous vide), then you sear hard for 30-45 seconds per side. Pull at 125°F to finish around 130°F for medium-rare; expect 3-5°F carryover for steaks and more for roasts. On the stovetop, create a two-zone setup by preheating one side of the pan hotter than the other: kiss both sides in the hot zone, then park on the cooler zone to coast upward while you baste. Add butter only at the end with aromatics (garlic, thyme) to avoid scorching; 20-30 seconds of foamy basting adds gloss and nutty depth without raising internal temp dramatically. If smoke is a concern, preheat a dry skillet under a ripping-hot broiler and sear beneath it-broiler heat browns the top while the pan crisps the bottom. Always finish by resting briefly (3-5 minutes for steaks) so juices reabsorb and the crust sets, delivering a fierce, glassy exterior over a perfectly rosy interior.
Q&A
What’s the simplest method to cook a thick steak so the center is rosy and the crust deeply browned?
Use the reverse-sear: cook the steak gently at 225-275°F (107-135°C) on a rack until it’s 10-15°F (6-8°C) below your target, then sear in a ripping-hot pan or over direct grill heat for 45-90 seconds per side. This builds a deep crust without overcooking the exterior and yields an even pink band. For medium-rare, pull around 115-120°F (46-49°C) and finish to 130°F (54°C). A two-zone grill or oven-then-skillet both work beautifully.
How do I hit target temperature every time without guesswork?
Rely on a fast instant-read or a leave-in probe thermometer; insert from the side into the center of the thickest area, avoiding bone and large fat pockets. Use “pull temps”: remove small cuts 3-5°F (2-3°C) below your goal and roasts 5-10°F (3-6°C) below, letting carryover heat finish the job. Calibrate occasionally (32°F/0°C in ice water, 212°F/100°C at a boil), and take multiple readings to map the hottest and coolest spots.
When should I salt (or brine), and how much, to stay juicy but well-seasoned?
Dry-brine with 0.5-1% salt by meat weight (about 3/4-1 1/2 tsp Diamond Crystal or 1/2-3/4 tsp table salt per pound/450 g). Timing: 45-60 minutes for steaks/chops, overnight for roasts, 24-48 hours for whole poultry. For lean cuts like turkey or pork chops, a 5-8% wet brine for 2-12 hours boosts juiciness-just blot very dry and, ideally, air-dry uncovered in the fridge for better browning. Marinades mostly flavor the surface; include salt, and keep acids under 4 hours to avoid mushy exteriors.
Flip once or flip often-what actually yields juicier, more even meat?
Frequent flipping (every 30-60 seconds) evens surface temperatures and shortens the cook, so the center reaches target without overcooking the outside. On a grill, shuttle food between hot and cool zones and close the lid to superheat the top; in a pan, avoid crowding so steam doesn’t sabotage crust. Don’t press-let the heat and time do the work.
How long should I rest meat, and how do I keep the crust from turning soggy?
Rest on a wire rack so air circulates: 5-10 minutes for steaks/chops, 15-20 for small roasts, 30-45 for large roasts. Expect carryover of about 3-5°F (2-3°C) on small cuts and 5-10°F (3-6°C) on roasts. Skip tight foil; if the crust softens, do a quick 30-45 second post-rest sear per side to re-crisp. Warm plates help preserve heat without trapping steam.
How do I cook a whole chicken so the breast stays juicy while the legs are fully done?
Spatchcock to flatten, dry-brine 24-48 hours uncovered, and roast with two-zone heat, positioning the breasts farther from the hottest area. For an extra edge, chill the breasts with an ice pack for 20-30 minutes before cooking so the legs get a head start. Pull when breasts hit 155°F (68°C) and legs 175-185°F (79-85°C), or go to 165°F (74°C) for a one-step finish; rest 10-15 minutes on a rack.
To Conclude
You now have a simple, reliable system: season with intention, manage heat, trust an instant‑read thermometer, and rest the meat so juices settle. That swaps guesswork for repeatable, edge‑to‑edge doneness and keeps every cut succulent. Let confidence-not luck-run your kitchen. For an easy next step, pick one favorite cut, note the target temperature, and cook it twice this week the same way-tiny adjustments, quick notes. You’ll feel the moment precision becomes habit and great results feel effortless.