Outsmart Common Baking Blunders Before They Happen

The difference between a triumphant rise and a sunken sigh is decided before the oven even warms. Most baking “disasters” aren’t dramatic last-minute twists-they’re quiet missteps that slip in during measuring, mixing, or timing, only to reveal themselves when it’s too late. Outsmarting those blunders starts with seeing cause before consequence, turning small choices into reliable results.
This article shifts you from damage control to prevention, so you save ingredients, time, and confidence. You’ll learn to read early cues, set up smarter, and make decisions that keep batters smooth, doughs cooperative, and ovens honest. Ready to sidestep the usual traps and bake with calm assurance? Let’s move into the moments that matter most-long before the timer dings.
Table of Contents
- Measure with precision to dodge dense cakes and sunken centers
- Mix just enough to keep crumbs tender and cookies crisp
- Map oven hot spots for even bakes without guesswork
- Prep pans and temper ingredients to prevent sticking and tunneling
- Q&A
- To Wrap It Up
Measure with precision to dodge dense cakes and sunken centers
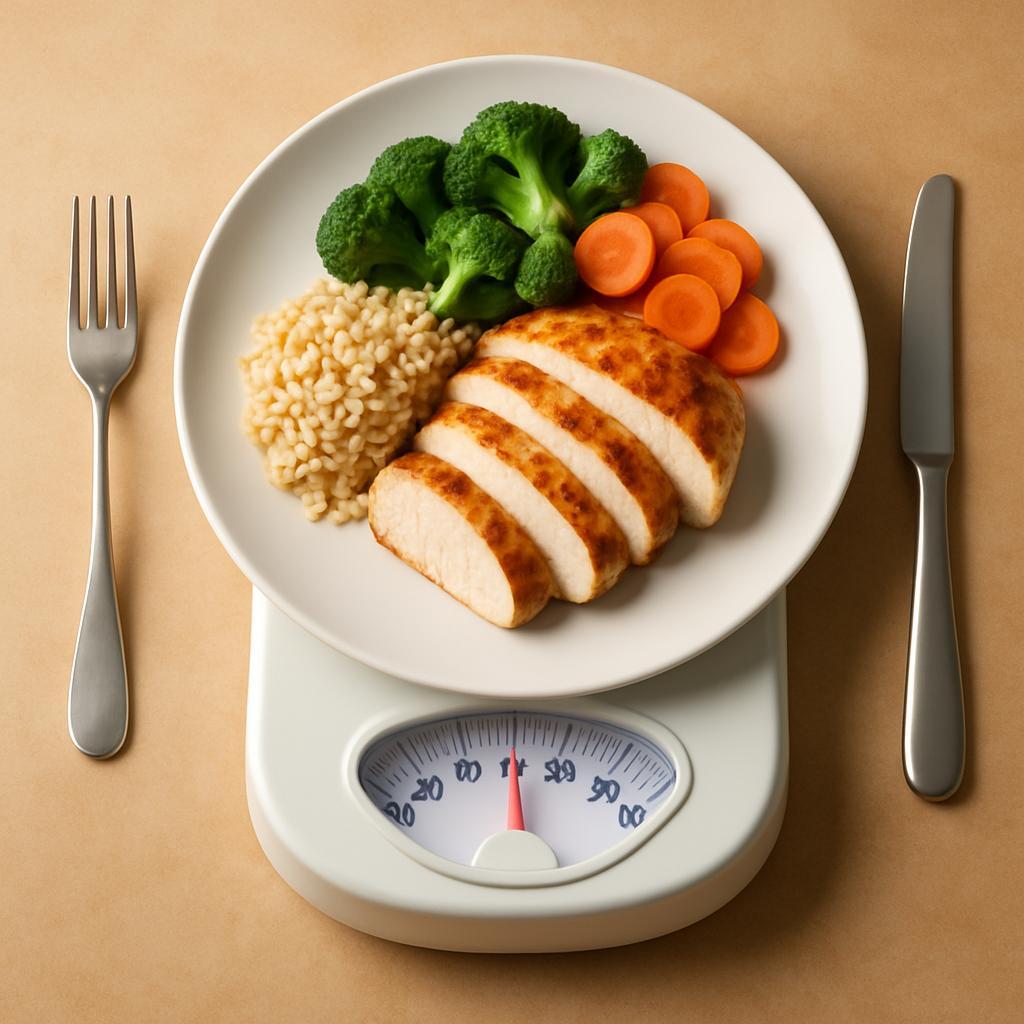
Accuracy begins before you crack an egg. Trade volume guesses for gram-true confidence: use a digital scale and tare between each ingredient. Scooping flour can compress it by 20-30%; if a recipe doesn’t give weights, emulate them-fluff the flour, spoon it into the cup, then level (about 120 g per cup). Keep a second 0.1 g scale for leaveners and salt, whose tiny overages snowball in the oven. Know what packs and what doesn’t: brown sugar is firmly packed, granulated is leveled, and cocoa or powdered sugar benefits from a quick sift to prevent hidden clumps. For liquids, measure at eye level or, better, weigh sticky syrups and oils to dodge meniscus errors. Weigh eggs if the recipe lists grams-one large egg is roughly 50 g without shell-and note that a stick of butter is 113 g. Above all, follow the recipe author’s stated weights; “1 cup flour” can mean different things to different kitchens.
Precision is your insurance against heavy layers and cave-ins. Too much flour yields a tight, dry crumb; too much sugar or liquid, or weak/expired leaveners, makes structure collapse as steam escapes. Use practical guardrails: about 1 to 1¼ tsp baking powder per 120 g flour (or ~¼ tsp baking soda per cup when balanced by acidic ingredients), and divide batter by weight so pans rise evenly-if you have 900 g of batter and two pans, scale 450 g into each and fill only halfway to two-thirds. Verify heat as carefully as ingredients: an oven thermometer prevents stealthy 25°F swings, and an instant-read probe pulled from the side can confirm doneness around 200-205°F for butter cakes. These small, measurable habits keep structure, lift, and moisture in check-so your cakes emerge tall, tender, and unwavering.
Mix just enough to keep crumbs tender and cookies crisp
The secret to delicate crumbs and crisp-edged cookies is stopping before gluten and air get ahead of you. Once flour hits liquid, gluten formation accelerates; keep the mixer on low and switch to a spatula as soon as the dry streaks mostly vanish. For cakes and muffins, a few small lumps signal you’ve mixed enough-those hydrate in the oven and bake up tender. Cream butter and sugar only until it lightens slightly and feels fluffy like damp sand, not whipped cream; over-aeration gives tunnels in cakes and puffy, cakey cookies. Add eggs just until absorbed with a satin sheen, scraping the bowl often so pockets don’t demand extra mixing later. Temperature matters: cool butter for scones and shortbread keeps fat distinct (flaky and tender), while truly room-temp butter (about 65-67°F/18-19°C) for creaming prevents you from chasing a smooth emulsion with needless extra time.
When flour goes in, think “gentle and brief.” Fold in dry ingredients in two or three additions; stop the moment the batter or dough looks uniformly moist and cohesive, then add chocolate, nuts, or fruit by hand to avoid warming the fat. Visual cues beat timers: cake batter should ribbon thickly off a spatula without stringiness; muffin batter should look slightly lumpy and matte; cookie dough should clean the bowl but remain supple rather than sticky. If you’re unsure, do a pinch test-a pea of dough that breaks rather than stretches has kept gluten in check. Let batters rest 5-10 minutes to finish hydrating (less stirring later), and chill cookie dough briefly to firm fat so edges bake snappier. The result of this restraint is precision: fine, tender crumb where you want softness, and cookies that shatter delicately instead of puffing into cake.
Map oven hot spots for even bakes without guesswork
Turn your oven into a known quantity with a quick, visual heat audit. Preheat to 400°F (205°C), set a rack in the center, and line a rimmed sheet pan with parchment. Lightly dust the surface with flour or scatter shredded coconut-both brown rapidly where heat concentrates-or arrange a grid of identical white bread slices. Bake 6-10 minutes, just until distinct color differences emerge, then remove and photograph. The darker patches show hotter zones; paler areas reveal cool spots. For finer detail, drop teaspoon-sized, evenly spaced mounds of granulated sugar on parchment (sugar melts around 366°F/186°C), noting where it liquefies first. Repeat briefly on the upper and lower racks and, if you have it, with convection on and off. Mark your findings on a simple sketch of the rack: front/back, left/right, center. In one short session, you’ve created a reusable heat map that reflects how your oven truly behaves.
Put that map to work so delicate bakes stop gambling with uneven heat. Position cakes, custards, and quick breads toward the most even zones, and place sturdy items (galettes, pizzas, roasted veg) where the map shows extra oomph. Rotate pans once at the bake’s midpoint-no more-to avoid heat loss, and buffer scorch-prone bottoms in hot areas with double-sheeting (set your pan atop a second, inverted sheet). A preheated baking stone or steel on a lower rack evens temperature swings; use foil shields to protect edges that face a known hotspot. If one corner runs cool, add 1-3 minutes to items parked there, or set the oven 10-15°F (5-8°C) higher while monitoring color cues. For convection, reduce recipe temperatures by about 25°F (15°C) and retest once. Clip an oven thermometer in a documented cool zone to track drift, and recheck your map after cleaning cycles, rack changes, or seasonal shifts. The result: predictable bakes, on schedule, with no surprises.
Prep pans and temper ingredients to prevent sticking and tunneling
Choose pans that help you, not fight you: light-colored aluminum promotes even baking, while dark nonstick runs hot-reduce the oven by 25°F if you must use it to avoid overbrowned edges and uneven lift. For release, think layers: grease, line, grease, dust. Brush the pan with melted butter or neutral oil, press in a parchment liner (use a circle for round cakes or a sling with overhang for bars), brush again, then dust with flour-or unsweetened cocoa for chocolate bakes to keep the crumb dark and flavorful. Bundt and detailed molds need extra intention: paint every crevice with melted shortening and tap in a whisper-fine coating of flour, cocoa, or even ground almonds; tip out the excess. Skip grease entirely for angel food and chiffon-they must cling to the pan to climb. For custards and cheesecakes, a light buttering plus a parchment base prevents suction-like sticking, while chilling tart shells 15 minutes before baking firms fat, minimizes shrinkage, and releases cleanly.
Cold ingredients sabotage structure and cause tunneling-those long holes from overactive leavening and overmixing-by forcing you to beat harder to combine a curdled batter. Temper key items to room-warm: butter and eggs at 65-70°F; dairy at cool-room temp so everything emulsifies quickly. Speed it up by cubing butter and letting it stand 10-15 minutes, warming eggs in lukewarm water for 5 minutes, and loosening thick liquids (honey, molasses) briefly in warm water so they flow. A cohesive, tempered batter traps fine, even bubbles that rise uniformly instead of blasting channels. For muffins and quick breads, gently fold wet into dry just until a few streaks remain, then rest the batter 10-20 minutes to hydrate flour and relax gluten; this curbs tunneling and delivers a tender crumb. Portion promptly into prepared pans and bake-steady, moderate heat plus well-tempered ingredients keep domes modest, sides smooth, and cakes releasing in one confident lift.
Q&A
How do I measure flour so my cakes don’t turn out dense or dry?
Weigh it whenever possible: 1 cup of all-purpose flour equals about 120-125 g. If you’re using cups, fluff the flour with a spoon, spoon it lightly into the cup, then level with a straight edge-don’t scoop directly from the bag or pack it down. Only sift if the recipe tells you to, and use dry measuring cups for dry ingredients and liquid cups for liquids to keep ratios accurate.
What temperature should my butter be for the result I want?
For creaming (cakes and many cookies), aim for cool room temperature butter at 60-67°F (16-19°C): it should dent easily but not look greasy. For flaky pastry and scones, keep butter cold (40-50°F / 4-10°C) so it stays in visible pieces that create layers. For brownies and some quick breads, use melted butter that’s cooled to about 85-95°F (29-35°C) so it blends smoothly without scrambling eggs. If butter gets too soft, chill it 5-10 minutes; if too firm, cut into small pieces to warm quickly. Avoid over-creaming-too much air can make cakes rise then collapse.
My cookies spread into puddles-how do I keep them thick and chewy?
Chill the dough 30-60 minutes to firm the fat, and bake on a cool, light-colored aluminum sheet lined with parchment (never on a warm pan or greased surface). Fully preheat the oven and verify temperature with an oven thermometer. Keep butter on the cooler side of room temp when mixing, and weigh flour; if they still spread, add 10-15 g flour per batch or 1 teaspoon cornstarch per cup of flour. Portion with a scoop, space generously, and test-bake one cookie to fine-tune time and size.
Why do my cakes sink in the middle, and how can I prevent it?
Common culprits include too much leavener, underbaking, opening the oven door too early, or using the wrong pan size. Weigh ingredients, use fresh baking powder/soda, and preheat thoroughly. Don’t open the door for at least the first 20-25 minutes. Bake until a skewer shows only a few moist crumbs or the center reaches about 200-210°F (93-99°C) for most butter cakes. Cream butter and sugar just until pale and fluffy, add eggs slowly, and mix in flour on low just until combined. Cool in the pan 10-15 minutes, then finish on a rack to set structure.
How do I stop a soggy-bottom pie and get a crisp crust?
Use a metal pie pan (or cast iron) and bake on the lowest rack over a preheated steel/stone to blast the bottom with heat. For custard or fruit pies, blind-bake until the crust is deeply golden and dry, then brush with egg wash to seal. Thicken fruit fillings properly, vent the top crust or use a lattice, and chill the assembled pie 15-20 minutes before baking. Start hot (around 425°F / 220°C) to set the crust, then reduce as directed, and cool completely so the starches firm up.
My bakes cook unevenly-how do I outsmart oven hot spots and bad temps?
Place an oven thermometer inside; many ovens run 25-50°F (15-30°C) off. Preheat 20-30 minutes, and use the middle rack for even airflow (lowest for pies to crisp the base). Rotate pans only after the structure has set-about two-thirds through baking-to avoid collapse. Avoid overcrowding, and test for hot spots by toasting bread slices to see where they brown fastest. If using convection, reduce the temperature by 25°F (15°C) and start checking early. A baking steel/stone helps stabilize swings and even out heat.
To Wrap It Up
A little foresight turns flour, butter, and heat into predictable magic. With careful measuring, temperature awareness, thoughtful prep, and sharper doneness cues, you’re equipped to catch issues early and steer each bake toward the texture and flavor you want. Treat every batch as a small experiment-observe, adjust, and let your notes guide the next round. For your next bake, lock in one habit-use an oven thermometer, weigh ingredients, or set a mid-bake check-and remember: the best results aren’t lucky; they’re prepared.

