Razor-Sharp Knife Mastery for Faster, Safer Cooking
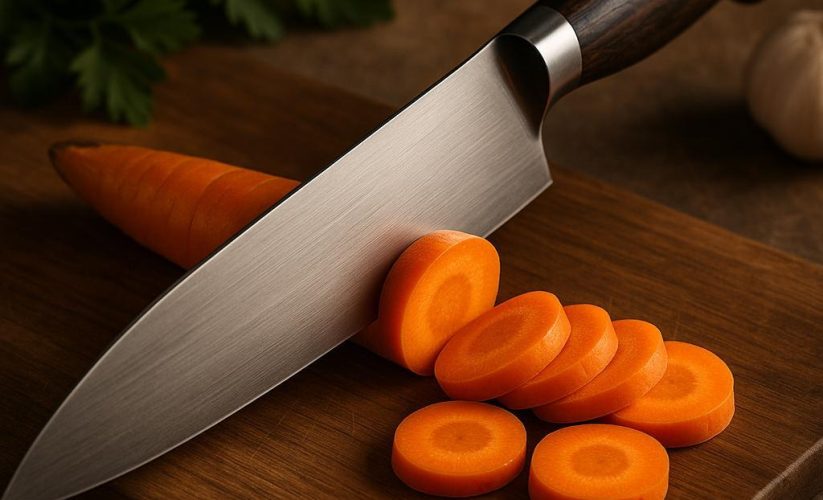
The quickest way to cut dinner time in half is to stop fighting a dull blade.
A truly sharp knife doesn’t just slice faster-it moves with intention, demands less force, and keeps your fingers safer by staying predictable. When steel meets board with precision, onions fall into clean arcs, herbs keep their brightness, and fatigue disappears from your wrists. Knife mastery isn’t a party trick; it’s the quiet skill that turns everyday cooking into confident, efficient work.
This guide focuses on building that edge and the habits that make it last: choices that simplify prep, grips that steady your hand, motions that let the blade do the labor, and care that keeps it keen. The payoff is immediate-speed without rushing, accuracy without strain, safety without fear.
It all starts where steel meets food. Let’s bring the edge back to the center of your kitchen.
Table of Contents
- Unlock effortless slicing by matching blade to task
- The pinch grip move professionals use for clean safe cuts
- Simple maintenance rituals that keep an edge razor ready
- Faster prep through stance alignment and glide technique
- Q&A
- Final Thoughts
Unlock effortless slicing by matching blade to task
Let the blade’s shape and stiffness do the heavy lifting. A curved-belly chef’s knife/gyuto (210-240 mm, ~2-2.5 mm spine) excels at rocking through herbs and proteins; set a 12-15° edge per side depending on steel hardness to balance bite with durability. Flat-profile santoku and nakiri shine for straight, push cuts through piles of veg; a thin grind and optional Granton dimples reduce stiction and keep slices even. Long, narrow slicers/sujihiki (270-300 mm) glide through roasts and fish with clean draw-cuts that preserve juices. Reserve a nimble paring/petty (80-120 mm) for in-hand trimming, and keep a serrated/bread knife for crusts and delicate skins like tomatoes that collapse under straight edges. For joints and silver skin, use the right boning/fillet tool-flex for fish, stiffer for poultry and pork-while true cleavers split bone; don’t subject thin Japanese blades to cartilage or frozen foods if you value their edges.
Match texture to technique. Dense roots (squash, sweet potato) want a sturdier gyuto or Western chef’s knife and a confident, vertical push; avoid twisting to prevent wedging. Watery or delicate produce (tomato, ripe peach) responds to a long serrated or a razor-thin petty finished at 1k-2k grit for micro-tooth “bite,” while silky proteins (roasts, sashimi) reward a polished 3k-6k edge on a sujihiki and a single, gentle draw per slice-wipe between cuts to keep surfaces pristine. Herbs and fine veg fall into neat stacks under a thin nakiri with a light, level push, not a rock. Bones and thick cartilage belong to a cleaver or boning knife, never a thin hard steel; if you feel cracking or stall-out, switch to a longer or thinner blade rather than muscling through. Pair the motion to the profile (rock with a belly, push with flats), use end-grain wood or soft plastic boards to preserve edges, and remember: when the right blade meets the right task, pressure drops, speed rises, and every cut lands exactly where you intend.
The pinch grip move professionals use for clean safe cuts
Pinch the blade, not the handle. Place your thumb and the side of your index finger directly on the steel just ahead of the bolster (or where the blade meets the handle on bolsterless knives); let your remaining three fingers wrap the handle lightly. This “choke up” puts your hand over the knife’s balance point so the blade tracks exactly where your eyes intend, reducing wobble and slip. Keep the thumb flat, not hooked, and the index finger curved-not pointing-so the wrist stays neutral and the knife becomes an extension of your forearm. A quick self-check: you should be able to lift the knife by the blade with that pinch without white-knuckling the handle; pressure is firm but not crushing. Expect immediate benefits-cleaner slices, less fatigue, and fewer accidents-because micro-adjustments happen at the blade, not inches away at the handle.
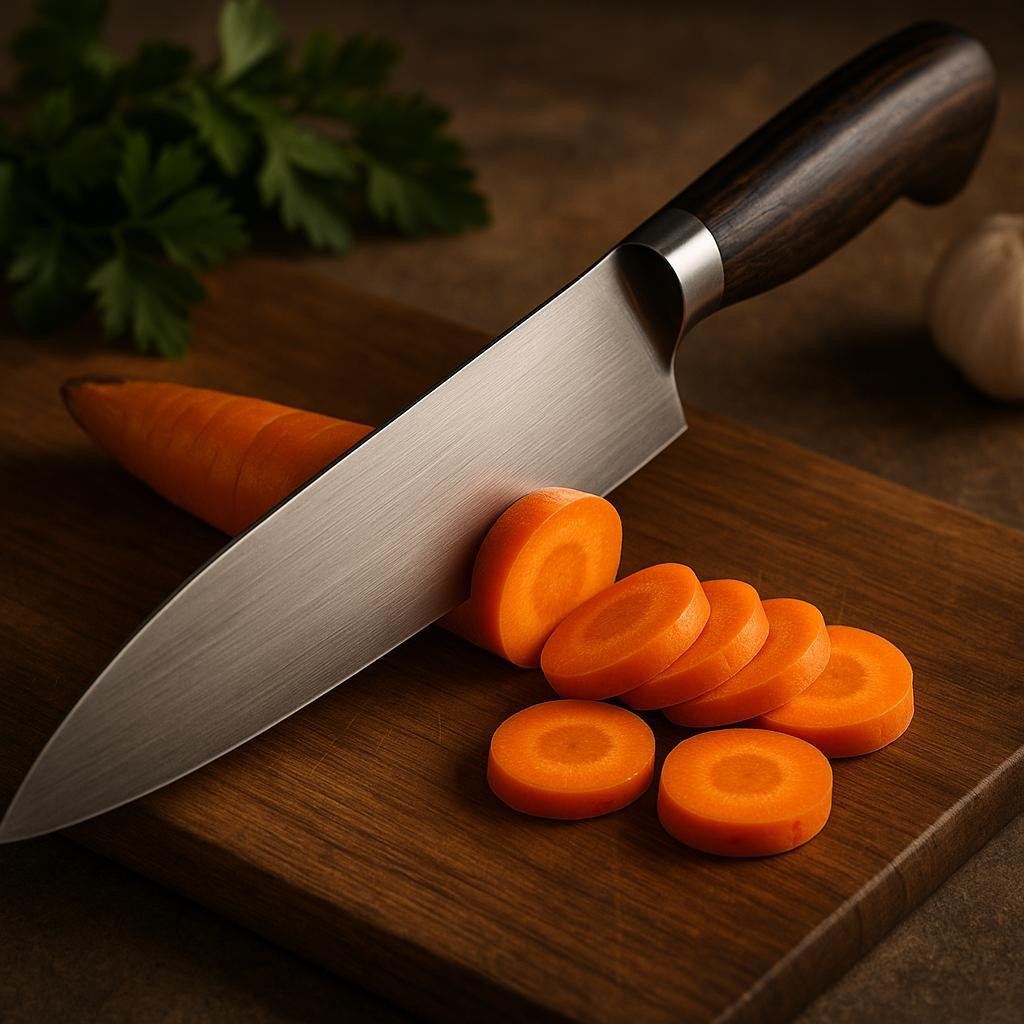
Pair the pinch grip with a guiding-hand claw: tuck fingertips under, expose the middle-knuckle ridge, and let that ridge serve as a safe guide rail for the blade’s side. Aim for three-point contact-blade to knuckle to board-while using a smooth push-cut or gentle rock from heel to tip; avoid vertical “stabbing,” which bruises produce and invites slips. Set a damp towel under the board, square your stance, and keep the product-not the knife-moving forward in small, consistent steps. Cue to remember: if you hear a light, even “tick” at the heel and feel the blade kiss your knuckles without scraping, your angle is right; if the tomato skin tears or herbs blacken, lighten your pinch, sharpen, and lengthen the stroke. Commit to a one-minute drill each session-stacked onions, carrot batons, or a row of mushrooms-and speed will follow precision, not precede it.
Simple maintenance rituals that keep an edge razor ready
Think in minutes, not marathons: after each prep, wash quickly, then dry from spine to edge so moisture can’t creep into the bevel. Hold a ceramic rod at 15-20° and make 3-5 feather-light alternating strokes to realign the edge; wipe the rod with an eraser to keep it cutting cleanly. Finish with 8-10 trailing strokes on folded newspaper or leather to burnish away microscopic burrs. Check sharpness by gliding through a sheet of paper or a tomato skin; if it hesitates, give two more gentle passes and re-test. A quick visual cue: roll the blade under a light-any sparkle along the edge means a flat spot that needs a couple corrective strokes. These 60 seconds keep the knife in its safe, razor-ready zone without grinding away steel.
When touch-ups start lasting less, give the blade a 5-minute fine-stone session (3000-6000 grit). Color the bevel with a marker so you track your angle, then make 8-12 light, edge-leading strokes per side, reducing pressure each pass. Add a micro-bevel by raising the angle a hair for 2-3 finishing strokes; this strengthens the apex without sacrificing bite. Deburr by drawing the edge once through soft wood or cork, then strop. Protect that edge between uses: cut only on end-grain wood or quality plastic (never glass, marble, or plates), store on a wood-faced magnetic strip or in a guard/saya, and hand-wash-no dishwashers or soaking. For carbon steel, wipe a whisper of food-safe mineral or camellia oil on a dry blade and keep a silica pack in the drawer. Small rituals, done consistently, turn sharpening into rare maintenance and every cut into calm, controlled speed.
Faster prep through stance alignment and glide technique
Set your body so the knife can fly. Stand shoulder-width with your non-dominant foot a half-step forward and toes angled 15-30° toward the board; this squares your hips while keeping the working shoulder relaxed. The board should sit just below elbow height so your forearm can stay nearly parallel to the surface-if you’re shrugging or bending your wrist, adjust height or step closer. Pinch the blade at the heel between thumb and side of index finger, wrap remaining fingers loosely for control, and form a tall claw with the guiding hand: knuckles vertical, fingertips tucked, thumb hidden. Keep the guiding knuckles as a consistent “rail” a coin’s width from the blade. Align your knife-side elbow slightly out-not pinned to your ribs-so the blade tracks straight. A damp towel under the board prevents drift, turning your station into a stable runway.
Trade chopping for gliding to move faster with less fatigue. Use long, low strokes that keep at least one point of the blade in light contact with the board: for push-cuts, let the heel lead forward and down; for pull-cuts (great for tomatoes or herbs), set the tip and draw back so the edge slices without smashing. Aim for a smooth oval path-forward/down, then back/up-lifting just enough to clear the product, never the exaggerated “hammer” motion that stalls speed and risks slips. Let the knife’s weight do most of the work; increase forward motion before adding pressure, and adjust the blade angle a few degrees steeper if food starts to stick. Drill it: 60 seconds of carrot batons using only glides, counting strokes, then repeat trying to reduce strokes without accelerating your tempo-efficiency shows up as longer, cleaner cuts per stroke and a quieter board. Wipe moisture from the blade between tasks to keep the glide friction-free and the rhythm unbroken.
Q&A
How can I tell if my knife is truly “razor-sharp” without risking my fingers?
Try three quick, safe tests: 1) Paper: slice printer paper from heel to tip-no tearing or snagging. 2) Tomato: glide through a ripe cherry tomato skin with almost no pressure. 3) Light: hold the edge under a lamp; a sharp edge won’t reflect light, while dull spots will sparkle back. If you know the thumbnail test, use it gently-the edge should “bite” and not skate-but keep pressure feather-light.
Honing vs. sharpening: what’s the difference, and how often should I do each?
Honing realigns a slightly rolled edge; sharpening removes metal to recreate the edge. Hone with a rod (steel or ceramic) before most cooking sessions-3-5 light strokes per side. Sharpen on stones or with a quality guided system when honing no longer restores performance: for frequent home cooks, every 6-8 weeks; for lighter use, 2-4 times a year. If the knife drifts on tomatoes or paper, it’s time to sharpen.
What angle should I use when sharpening, and how do I keep it consistent?
Most Western chef’s knives shine at 15-20° per side; many Japanese gyutos/santokus favor 12-15°. Consistency beats perfection. Use these cues: lock your wrist and lead with your shoulder; make a “half of half” visual (90° → 45° → ~22°, then slightly lower for ~15-20°); color the bevel with a marker and do a few strokes-if the ink disappears evenly at the very edge, you’ve nailed the angle. Angle guides that clip to the spine are an easy upgrade for repeatability.
What’s the fastest knife technique that still keeps my fingers safe?
Set the stage: a damp towel under the board, stable stance, and a pinch grip (thumb and index on the blade, not just the handle). Use the claw with your guide hand-knuckles forward, fingertips tucked. For firm veg, use a smooth push-cut (forward and down); for herbs, anchor the tip and rock in short arcs; for proteins, slice in long, light pulls. Batch your prep: square one side to create a flat, stable face, then batonnet sticks and cross-cut to dice. You’ll move faster without ever feeling rushed.
Which everyday habits dull knives the fastest, and how do I avoid them?
Avoid hard boards (glass, stone, bamboo end-grain), dishwashers, and scraping food with the cutting edge. Use softer boards like end-grain wood or quality plastic, hand-wash and dry immediately, and sweep ingredients with the spine or a bench scraper. Don’t twist the blade in hard foods or pry bones; store knives on a magnetic strip or in a block/sheath so edges don’t knock around in drawers.
My knife is very dull or chipped-can I fix it at home?
Yes, within reason. Start coarse (300-400 grit) to set the bevel and remove chips, switch to medium (1000) to rebuild sharpness, then refine (3000-6000) and strop on leather or even newspaper to clean off the burr. Work both sides evenly and finish with the lightest strokes. Deep chips, recurved edges, or overheated tips are best left to a pro. For serrated knives, use a tapered ceramic rod inside each scallop rather than flattening the teeth with a pull-through tool.
Final Thoughts
You’ve seen how real speed comes from control, and control starts with a keen edge: a stable board, a secure grip, the claw, smooth strokes, and simple habits of honing and safe storage. With these in place, prep becomes a calm rhythm that protects your fingers and sharpens your focus. Take one small step today: set a damp towel under your board, hone your knife, and practice dicing an onion-planks, sticks, then cubes. Keep the pressure light and the motion steady; let the blade do the work. Sharp edge, steady hands, better meals.

